How To Create a Mobile Campus Tour App with Guidebook
What goes into making a mobile campus tour?
Not every student making the campus tour rounds can make a scheduled tour, and schools are looking for a solution beyond just a printed map with scant descriptions of buildings. With Guidebook you can create a self-led campus tour experience for prospective students that truly immerses them in your campus culture without sacrificing the core message of your normal tour script.
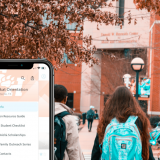
It’s an app that students can download on their phone, it has your school’s colors, branding, and message, and – best of all – you can use it as a channel to collect the information of interested students. Those taking the tour will be led by GPS to points around campus of your choosing, and when they reach those points will be able to hear audio narration associated with that spot on the tour.
Guidebook gives you the tools to make your mobile tour a reality, so how do you go about assembling all of your content into one cohesive app?
Gathering the content
Before you jump into building, it’s a good idea to start assembling all the bits and pieces that will make up the story of your campus. Chances are, you’ve already put a lot of time and thought into creating a compelling narrative for your campus tours – now it’s a matter of figuring out how to translate that into a mobile app.
Student stories
A great campus tour begins with the student story. Our students are what bring life to our campuses, and their personal experience brings an authenticity to the tour that is powerful when it comes to attracting other students to submit an application.
Work with your current student tour guides to craft an authentic narrative that will play well in recorded form. It helps to try and preserve some of the spontaneity that comes with an in-person tour. Perhaps there are certain jokes or stories that a student tells that bring a human, empathetic touch to the tour’s narrative. However you decide to structure the narration, make it welcoming, keep it informative, but also add in personality!
Don’t be afraid to think outside the box. What can you do with a recorded audio tour that you couldn’t do in person? The audio track could consist of narration from multiple students with diverse backgrounds and majors. Maybe it includes input from professors and university staff. Maybe you can put students in the moment with sounds of a football game or the orchestra rehearsing.
With Guidebook you also have the ability to create multiple tours within one app. With individualized tours, you start approaching territory that you may not even be able to cover with your main in-person tour. You could include a track for athletes, or Spanish-speakers, or prospective engineering majors.
Choose a route
Once you’ve conceived of your narrative, it’s time to choose a route. You may already have one in mind based on your current campus tour. Keep in mind that with Guidebook, the tour is enabled by GPS location, so it’s best to stick with outdoor stops.
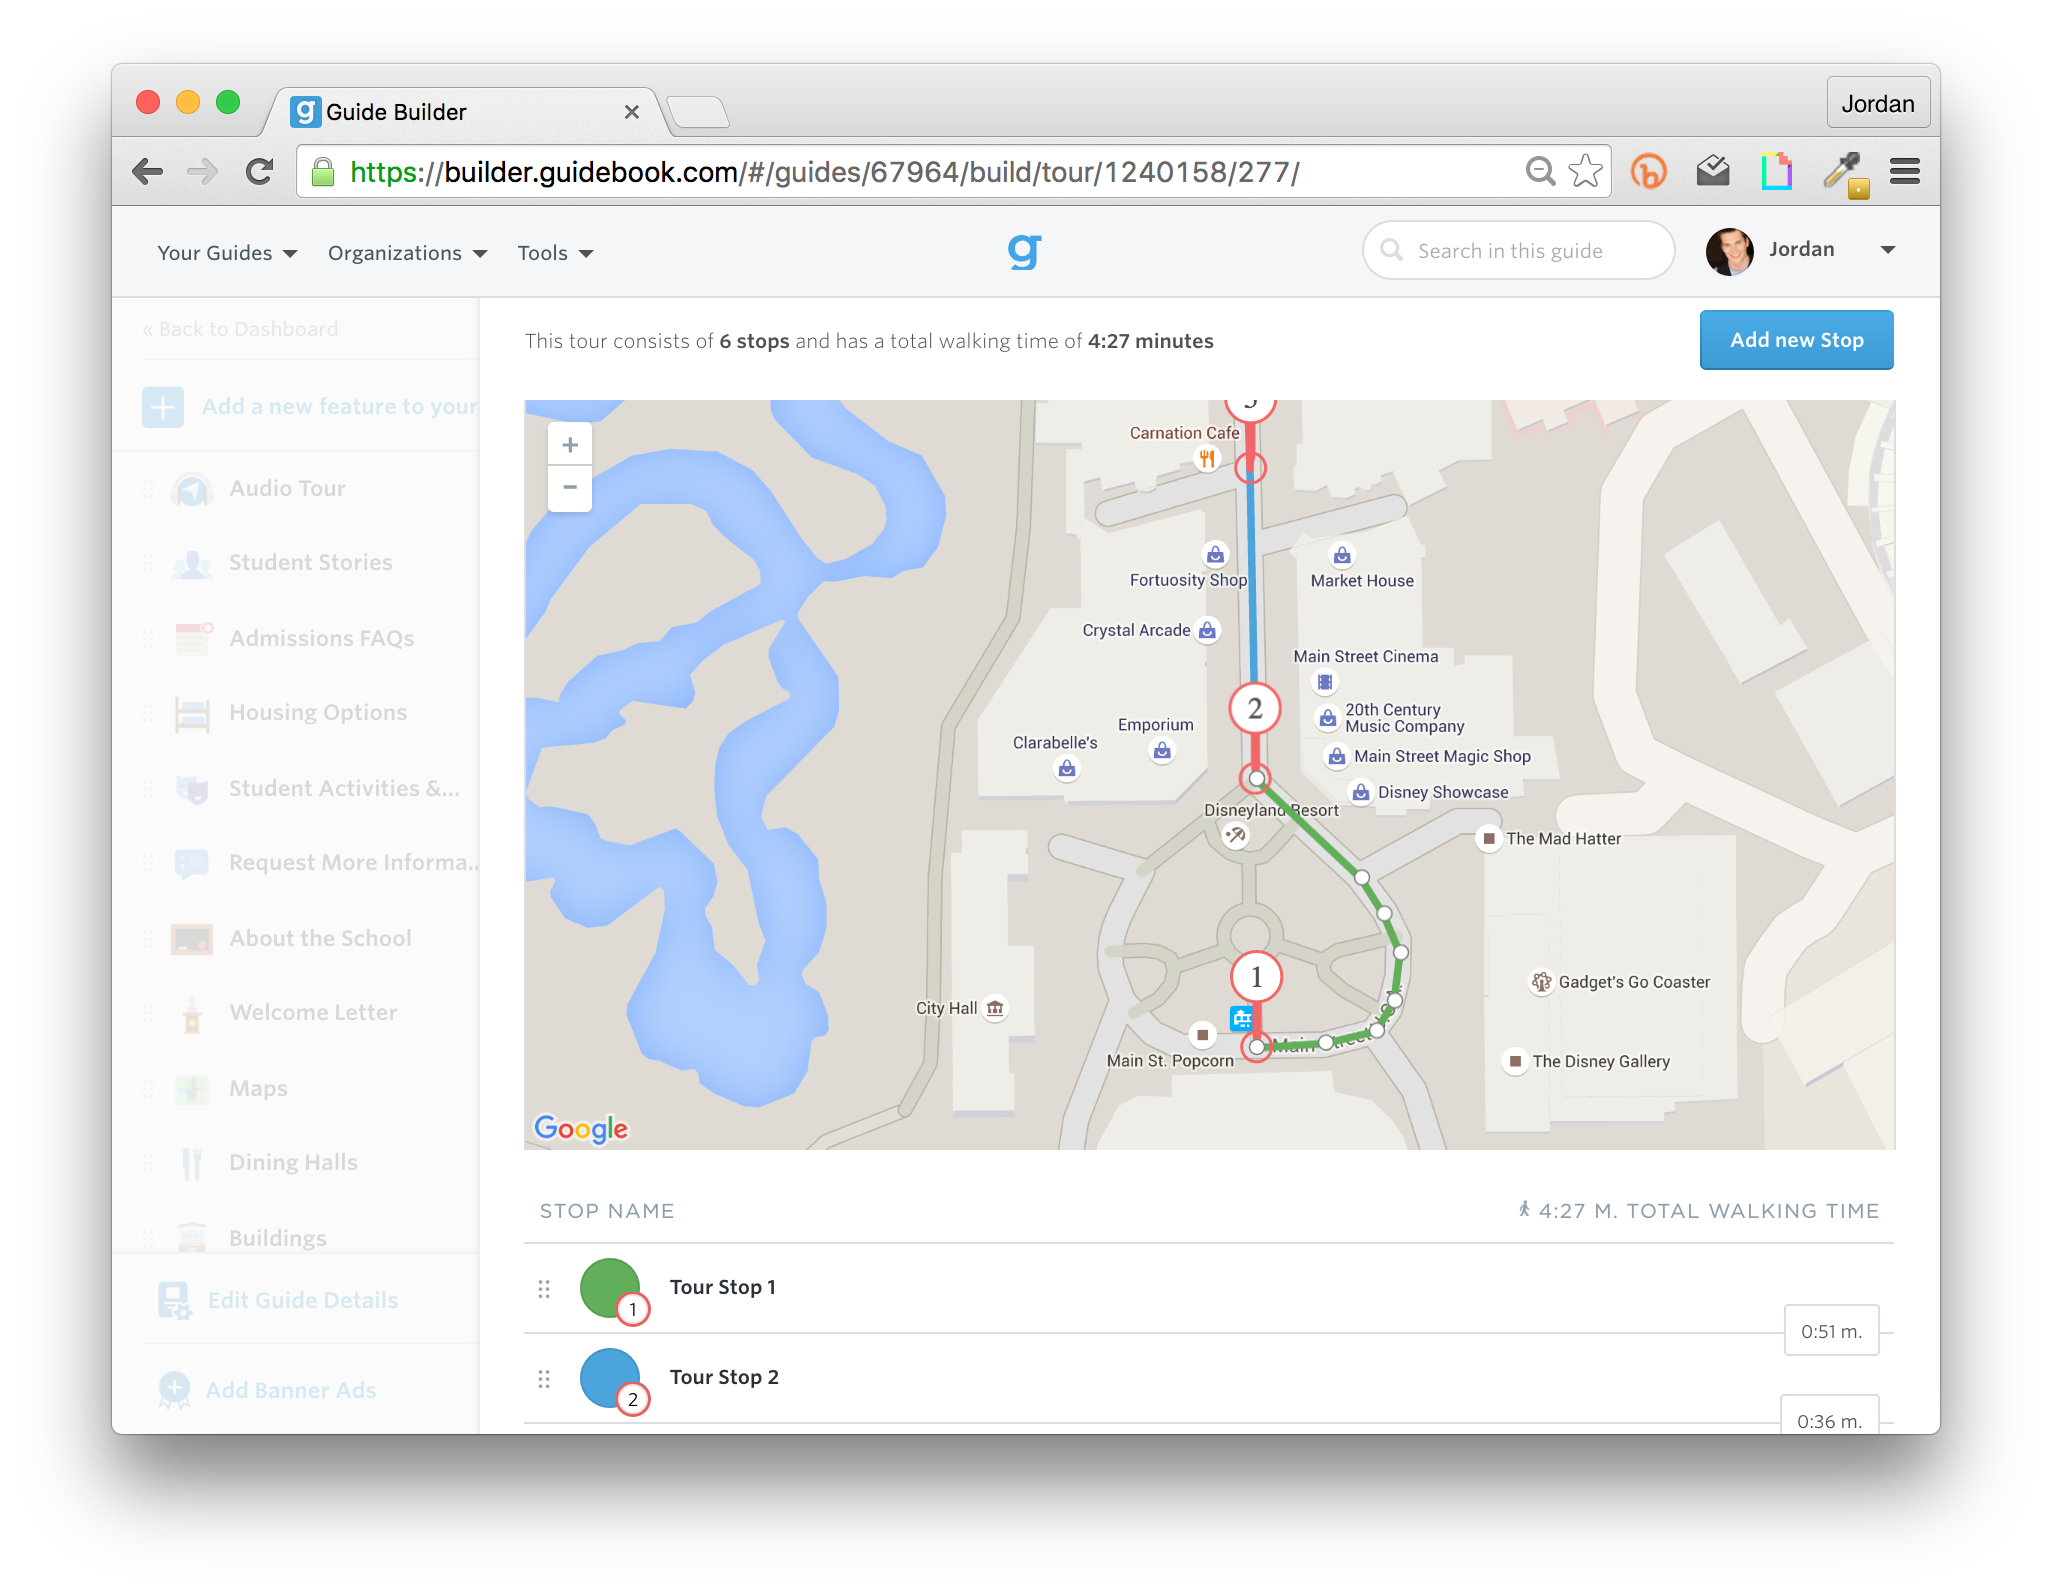
Putting the route into your app is actually a very simple process. Once you’ve selected the Campus Tour template in Builder, all you need to do is click into the Audio Tour menu item and start placing stops on the map.
- Enter the address of your campus so the map centers on your university.
- Click the “Add new stop” button to place a pin on the map.
- For each new stop you create, an automated path appears that gets the user from one pin to the next.
- If you need to alter the path, just drag the white dots to change its shape.
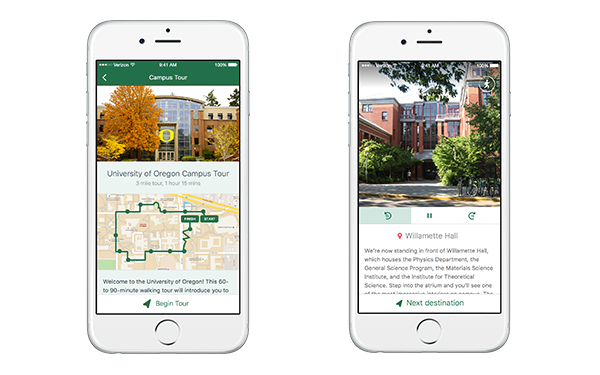
Each pin will automatically trigger the audio narration and location information when your app users reach that location on campus. It’s that simple! You can even see that Guidebook estimates the walking time based on your path’s distance.
Location assets
For the best possible user experience, you’ll want to put a little bit of thought into the locations’ assets. Each location is accompanied by a picture and a description. Photos will help to enhance the visual aspect of your tour app. You can format them by choosing photos that have dimensions of 750px by 750px.
Keep in mind that the student on the tour will be able to see the location in front of them, so perhaps your photos can add a different perspective by showcasing a season, an interior, or a special event on campus. Try to offer up something that really encapsulates an authentic student experience.
Audio recordings
 Last, but certainly not least, you’ll be able to attach a recording to each stop. If you want, you can record right within Builder using your computer’s microphone. Best practice, however, suggests that you upload your own mp3 file.
Don’t worry – you don’t need to call in an expensive sound engineer to make a pristine recording. And you don’t need to go off and rent expensive hours in a recording studio. All you need is a quiet room (a place with not a lot of echo works best – shoot for a small room with carpeting) and a decent microphone. To be honest, most smartphones pack enough hardware these days to get the job done.
If you want to lend an extra air of professionalism to your recording without breaking the bank, however, try using sound recording software. Audacity is a free, open source download that will certainly have more than enough features for you to record, make edits, and export to an mp3 format.
Here’s a helpful YouTube video about using Audacity to make a narrative recording.
Here’s a great primer from Blue Mics (who happen to make an affordable, high-quality USB microphone called the Snowball) about recording audio at home.
It’s okay if your narrator isn’t a professional voice over artist! Make them feel comfortable, and put them at ease by reminding them you can always do another take or edit out mistakes later. If your narrator is a student tour guide, encourage them to speak casually as if they were giving a small intimate version of their in-person tour to just one or two people. One trick of the trade is to smile while you speak – you can’t help but sound friendly that way!
Using app features
Your audio tour is just one element of the campus tour app. It can also house any of the other features that Guidebook offers. If you’re feeling ambitious, the app could serve as a detailed guide to your campus with lists of campus resources, dining options, and links to departmental websites. There are a couple of things, however, that you absolutely don’t want to leave out.
Student stories
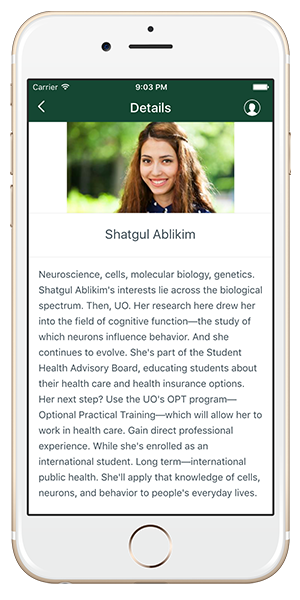
Utilize the Custom List feature to create a diverse set of student stories. This is your chance to match a face to a story that helps prospective students identify with your current student population. You might not be able to cover every single walk of life with individual tour tracks, but you can certainly get a wealth of perspectives by having students contribute their own personal written stories to your guide.
A compelling call to action
Your new campus tour app is not only offering a better experience to students taking a self-led tour, it’s also a better way for them to tell you that they’re interested in applying.
Each tour ends with a call to action that allows a student to submit a form to the email address(es) of your choosing. The questions on the survey are up to you. This is your chance to collect data, which will only serve to help you improve your strategy. Are they interested in applying? Did they enjoy the tour? Was there something missing from the experience? Would they recommend it to a friend? Are they more likely to apply after taking the tour than they were before? Apps and other digital communication tools provide data – something a paper map could never do.

Marketing your campus tour app
We wish you could say, “If you build it, they will come,” but technology doesn’t work that way. A campus tour app is going to be a great resource for you, but people have to know that it exists in order for them to download it.
This part doesn’t have to be hard, but it can’t be ignored. And having a promotion plan is essential for any type of mobile app. You can learn a little about how the University of Oregon is getting the word out about their campus tour app here, but here are a few must-do’s:
- Include a link to your campus tour app in confirmation emails when students register for a tour. If they miss the tour time, they’ll still have the option to use your app.
- Email tour no-shows with a link to your tour app.
- If you have an open campus, place signs or markers in strategic locations around your campus. People who have casually stopped by will be able to download it on the spot!
- Place a link to your campus tour app in a prominent place on your Admissions website.
- Run ads for your campus tour app on the digital displays in buildings where visitors are most likely to go – the Student Union or Library, for example.
There you go! For relatively little development (compared to building it all yourself from scratch), you can have a beautiful, professional campus tour app. If you’d like to see more for yourself, start building one now in Builder or request a demo from one of our higher ed experts!